
Commercial Solar
Power Installation
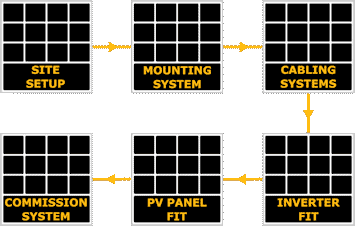
Commercial solar power installations break down into a number of discrete elements, which could be completed sequentially as shown below, though they can also be adjusted if, for example, you wanted to complete the internal work or external works at different times to minimise disruption on site. The main elements are:
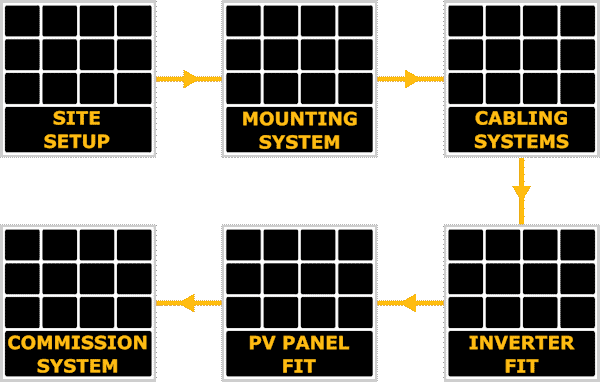
Site setup
Mounting System
Installing the mounting system is a major part of the job in terms of time taken, and normally involves installing all of the fixings to the existing roof and then the mounting rails that the solar PV panels will fix to. For ballasted systems it is a matter of getting the frames assembled in situ and then adding the required amount of ballast. For ground mount systems it is installing the main mounting posts into the ground, then assembling the mounting rails onto these.
Cabling Systems
Fitting the cable penetration points
Getting the DC cables from the strings of solar PV panels on the outside of the building onto cable trays inside the building in a safe, neat and tidy way that doesn’t leak at any point in the future is not as straightforward as you might first think. We would consider this in detail at the design stage and specify the most appropriate method, then implement this now in preparation for running the DC cabling.
Fit the cable containment systems
‘Containment systems’ is the industry term for cable management, and generally means cable trays to route the DC cabling from the cable penetration point to the inverter, and AC cabling from the inverter to the distribution board.
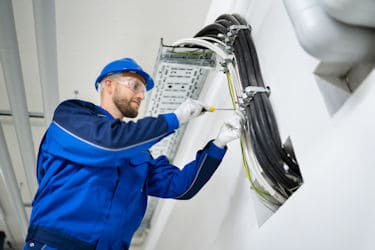
Solar PV DC cabling being installed
Inspection of Solar PV panel connections
DC cabling (and earth bonding if applicable)
Next all of the DC-cabling for the strings of solar panels are run back to the cable penetration points and then to the inverter location. These cables must be supported and protected as required, and are separated by polarity on the cable trays. They are all labelled for identification and coloured red and black depending on polarity. If required, and earth bonding cables from the mounting system would be ran at this point as well.
AC cabling and comms
This is wiring between the inverter and the point that the generated electricity connects to – normally the nearest distribution board on the site. There is also a main AC isolator installed next to the inverter(s) and sometimes another at the other end of the cable before the distribution board. The communications system is normally done by connecting the inverter(s) into your onsite network, via an RJ45 / CAT 6 network cable. This normally needs some input from your onsite IT person to setup access / open firewalls etc. There are alternative methods using mobiles comms etc. for a small additional cost.
Inverter Fit
PV Panel Fit
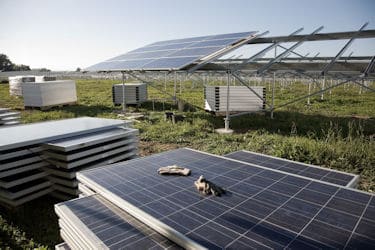
Inspection of Solar PV panel connections
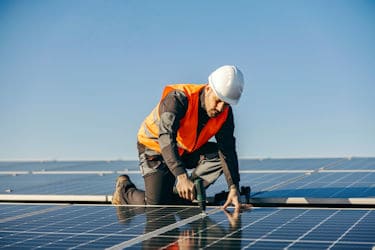
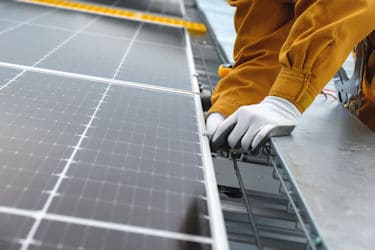
Roof mounted solar PV panels being secured to fixing rails
Commission System
PV System Design & Consenting
Commercial Solar Power
Ready to Take Your PV Project to the Next Level?
The first step is to complete a detailed feasibility study to determine the viability of your project, prior to design and installation.
Just submit an enquiry using our online Enquiry Form we will get in touch to discuss your enquiry in more detail, normally within a few days of receiving it.
You can learn more about PV projects here, or contact us, and our engineers will guide you through your PV journey.